If you've walked with me before, you'll know that our routes often combine official walking trails with the occasional unofficial path (usually one that's been well tested by generations of goats or sheep!).
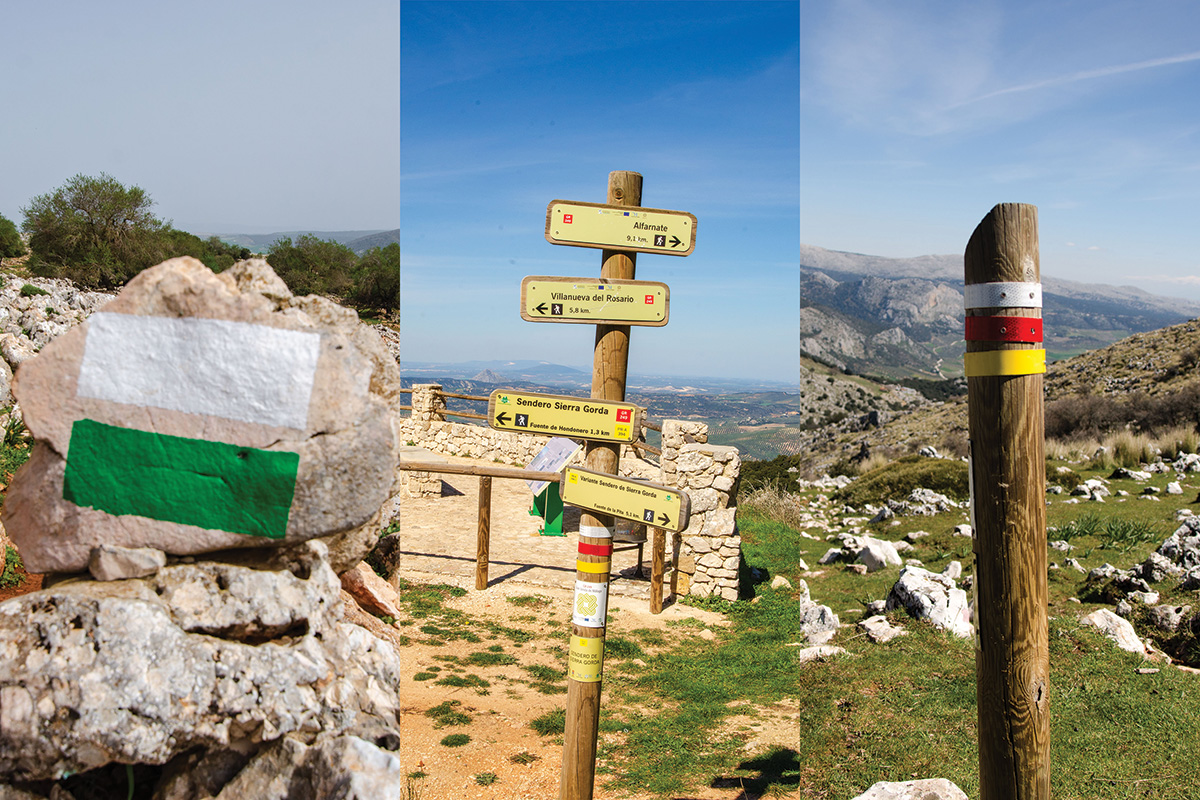
Whenever we join an official trail, you'll notice wooden posts, coloured waymarks and information boards along the way. I'm often asked what they all mean and, once you understand the system, they're actually very straightforward.
In this article, I'll explain the different signs you're likely to come across while walking in Andalucía, what the coloured waymarks mean, and how to understand the information boards you'll find at the start of many official routes. Once you know what you're looking at, it all starts to make perfect sense.
Who Looks After the Trails?
Official walking trails in Andalucía are planned and maintained by organisations such as the Junta de Andalucía and the Andalusian Mountaineering Federation.
These routes are regularly signposted and maintained, helping to make them straightforward and enjoyable to follow. Like any outdoor environment, conditions can occasionally change because of storms, erosion or vegetation growth, but the network is generally very well looked after.
If you're walking independently, it's always sensible to carry a GPS or route-tracking app as a backup. On a guided walking holiday, though, that's one less thing to think about.
GR, PR and SL – What Do They Mean?
As you walk in Andalucía, you'll often see trail signs marked GR, PR or SL. These simply identify the type of official walking trail.
- GR (Gran Recorrido) – Long-distance trails, marked with red and white stripes. They can stretch for hundreds of kilometres and are usually divided into stages.
- PR (Pequeño Recorrido) – Short-distance trails, marked with yellow and white stripes. These are typically between 10 and 50 kilometres long and are often completed in a day.
- SL (Sendero Local) – Local trails, marked with green and white stripes. They're generally under 10 kilometres long and often link villages with nearby viewpoints or places of local interest.
It's worth remembering that these letters describe the type of trail, not how difficult it is. A short local walk can still include some steep climbs, while a section of a long-distance trail may be relatively easy. For that reason, it's always worth checking the information board and MIDE grading before setting off.
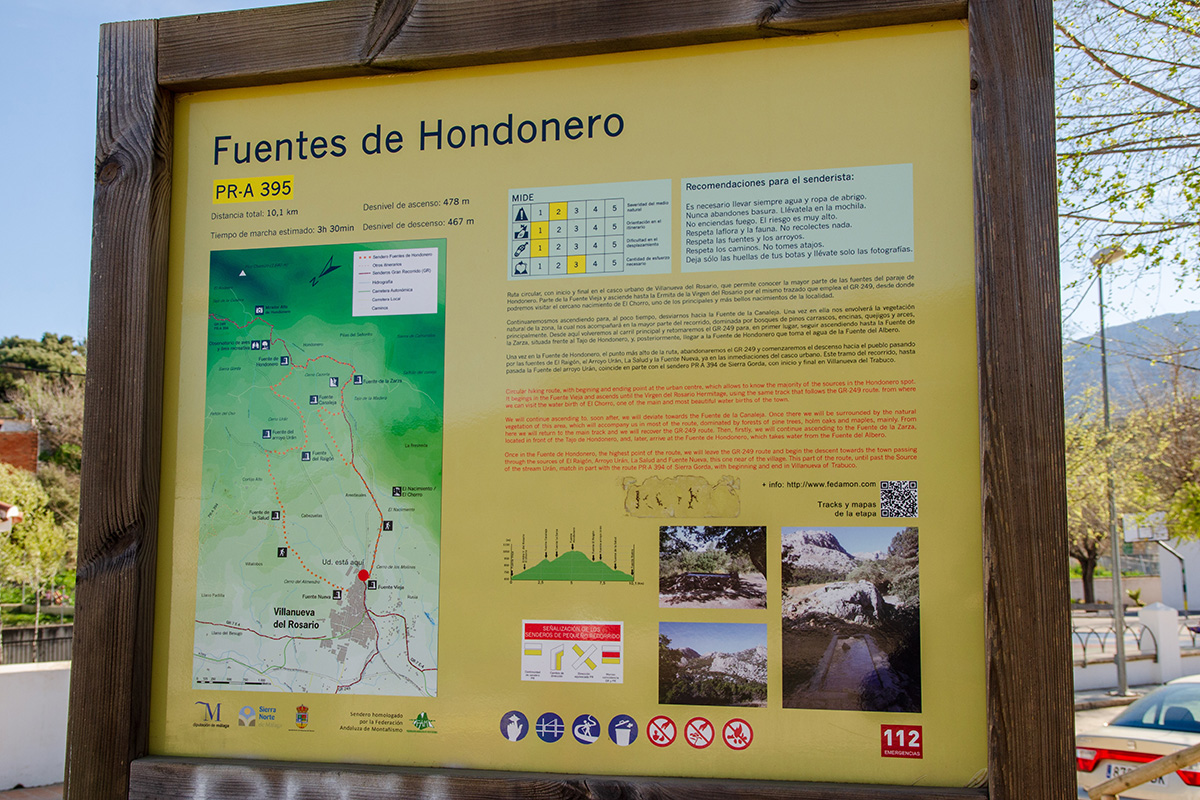
The Information Board
At the start of most official walking trails, you'll find an information board. Whether the route is circular or linear, it's designed to give you the key information before you set off.
Although they can look a little overwhelming at first, they're actually very easy to understand. Depending on the trail, the board may include:
- Route name and reference number
- Distance and estimated walking time
- Total ascent and descent
- A route map and height profile
- Safety advice and warnings
- Waymark information
- The MIDE grading system
One word of caution about the estimated walking times. Don't ever feel you have to complete the walk within the time shown on the board. Whoever timed these walks clearly wasn't walking the Andalucía on Foot way! I suspect they didn't stop to admire the views, take photographs, enjoy a leisurely tapas lunch or even pause for the occasional comfort break. Think of the suggested time as a useful guide rather than a target.
The information board gives you a useful overview of the walk before you even take your first step. One part of it often raises the most questions, though, so let's take a closer look at the MIDE grading system.
Understanding the MIDE Grading System
One of the most useful parts of the information board is the MIDE grading system. Developed in Spain, it provides a consistent way of describing the difficulty of a walking route.
Rather than giving a single overall grade, MIDE assesses four different aspects of the walk, each scored from 1 (easy) to 5 (very demanding):
- Route finding – How easy the route is to follow.
- Terrain – The type of ground you'll be walking on.
- Physical effort – The level of fitness required.
- Environmental conditions – Factors such as remoteness or exposure.
This gives you a much clearer picture than a simple "easy" or "hard" rating. For example, a walk might be easy to follow but still require a good level of fitness, or it might involve straightforward terrain in a more remote environment.
The MIDE system is a helpful guide when comparing routes, but it should never replace your own judgement, experience and preparation.
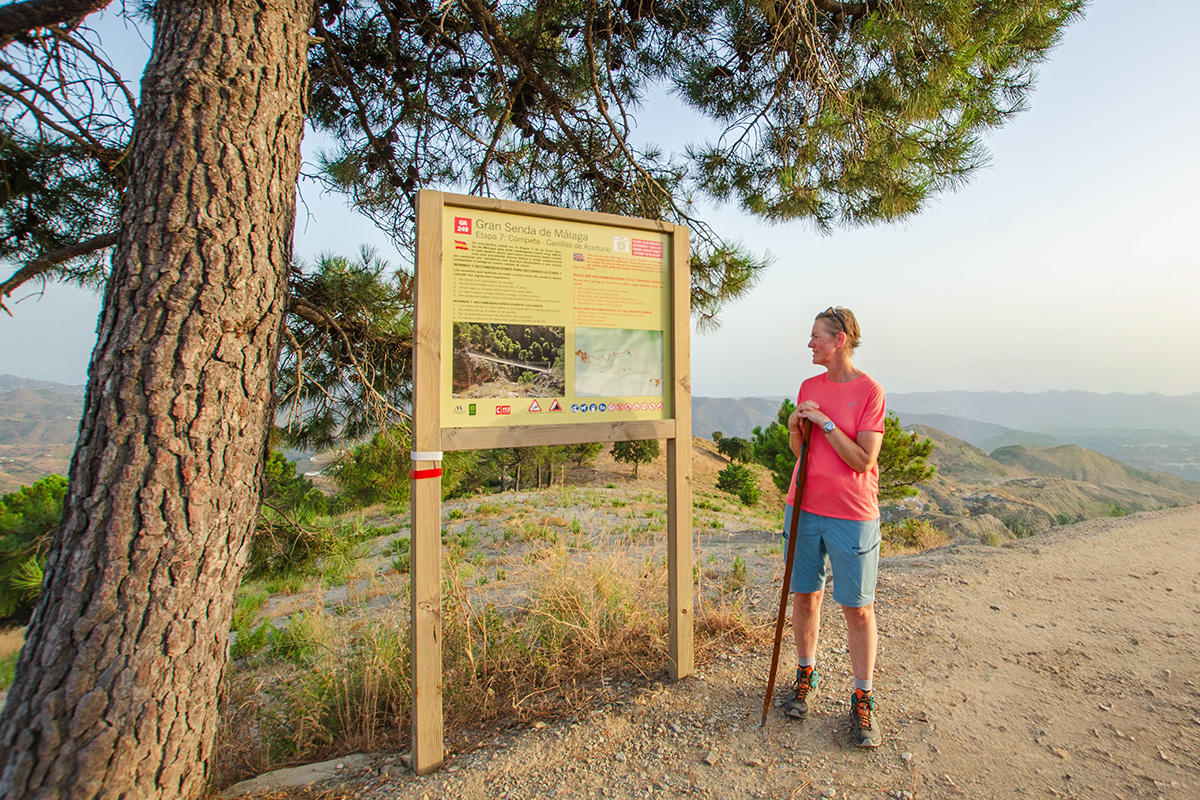
Following the Waymarks
Once you're on the trail, navigation is surprisingly simple. Official routes are marked with coloured stripes painted on rocks, trees, wooden posts and, occasionally, walls or other permanent features.
The colours match the type of trail:
- Red and white – GR (long-distance trails)
- Yellow and white – PR (short-distance trails)
- Green and white – SL (local trails)
You'll usually see a painted waymark whenever you need reassurance that you're still on the correct route. At junctions or changes of direction, the waymarks become more frequent to guide you along the trail.
It's also worth knowing that a crossed marker means don't continue this way, while an arrow or change in the position of the stripes indicates the correct direction to follow.
On well-maintained trails, it's unusual to walk for long without seeing another waymark. If you find yourself wondering whether you've missed one, it's usually worth pausing to look around or check your map or GPS before carrying on.
Once you understand these simple markings, the official trail becomes much easier to follow.
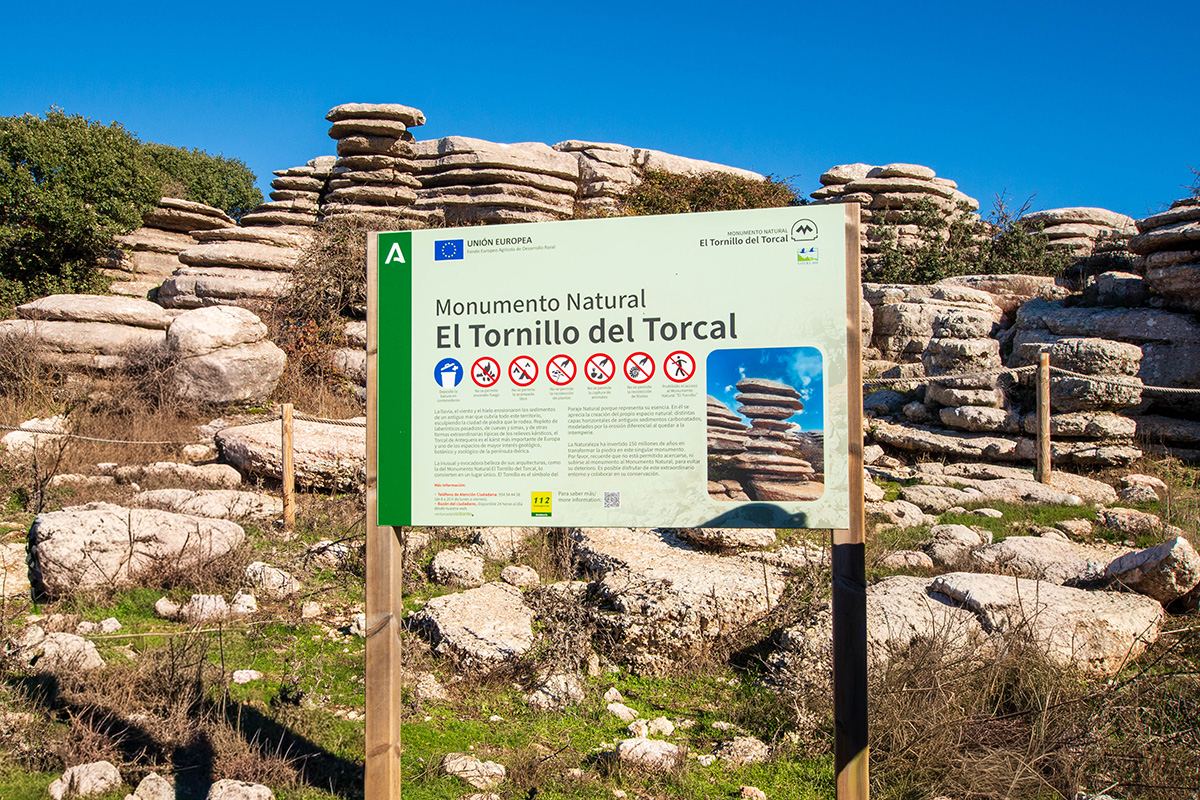
Other Signs You'll See
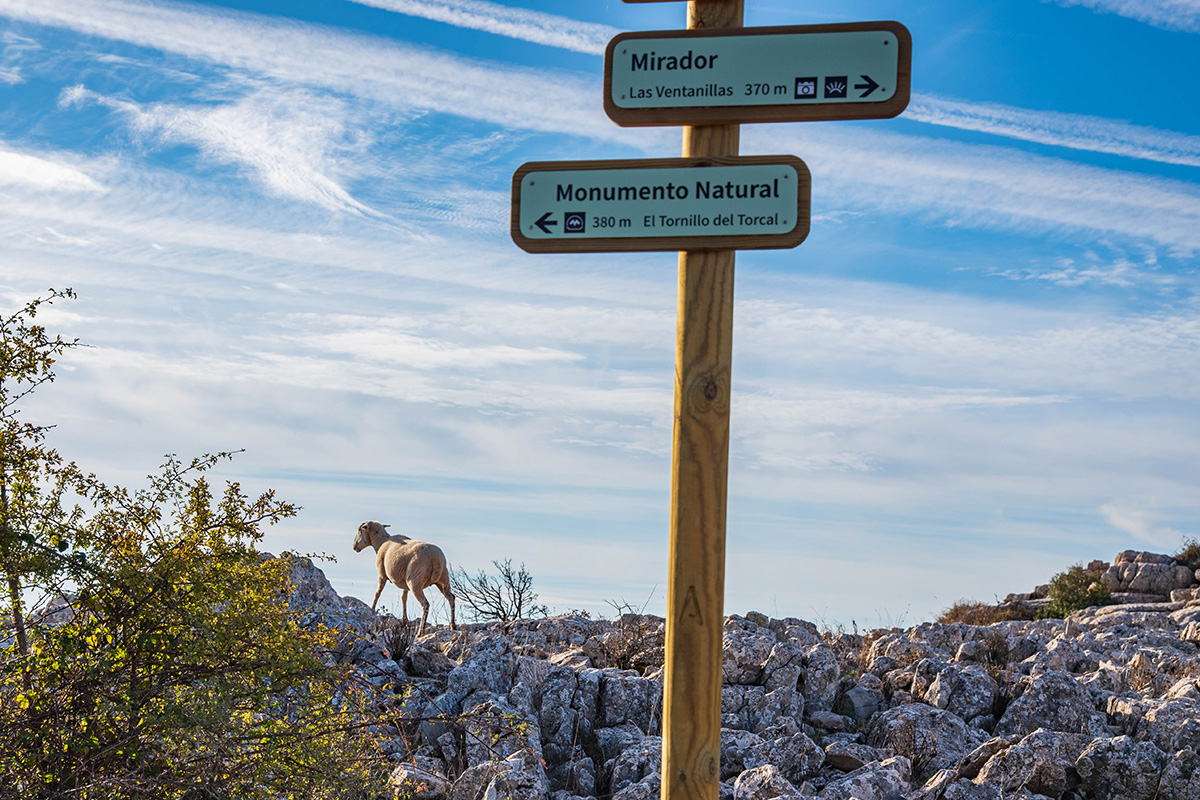
As well as official trail waymarks, you may come across signs marking nature reserves, archaeological sites, viewpoints or areas of environmental importance. Some routes also include interpretation panels explaining the local wildlife, geology or history.
These signs aren't there to help you navigate, but they can add another dimension to your walk by helping you understand the landscape around you. Once you begin recognising them, you'll start to see that the trails themselves tell part of the story of Andalucía.
Looking Beyond the Signs
When you join one of my guided walks, you don't need to worry about following the trail. That's my job. But understanding the signs you pass along the way adds another layer to the experience. They tell part of the story of how Andalucía's walking routes are planned, maintained and enjoyed by local people and visitors alike.
The next time you notice a red-and-white stripe or stop to read an information panel, you'll know what you're looking at and why it's there. It's one more way of understanding the landscapes we explore together.